


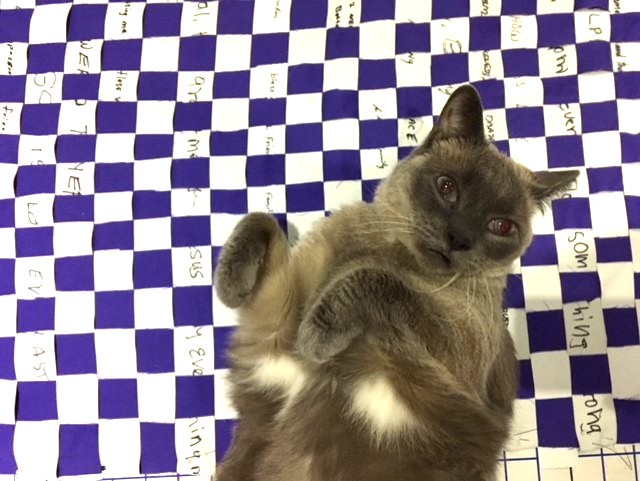
These banners originated as part of the “Weaving Our Testimonies Together: A Collaborative Art Project” for our congregation in Canada. As seen in the related post, members wrote testimonies of thanksgiving or answered prayers on strips of fabric and wove them together to create large “mats” during the worship service. These “mats” were referencing Jesus’ healing of the paralytic in scripture and his instruction for the healed man to “take up his mat.” My own interpretation of these scriptures is that the healed man is told to take his mat with him so that he might use it to bring others to Jesus for healing. In the same way, we can use our own experiences with Christ to help us as we seek to love and serve.

At our church in Toronto, the congregation wove two of these mats. One reason is Kingsway is a larger church. The other reason was that I had a plan. My plan was to turn the two weavings into banners for Lent. I liked the idea of tying in member’s testimonies of God’s faithfulness in difficult times, with the dark, difficult season of Lent that leads into the faithful, hopeful season of Easter.
Even if you want to use your church’s banner as a wall hanging or take it off the frame to store, it’s helpful to hem the edges to keep the weaving in tact. Starting with the sides of the mat, fold the ends of the testimony strips (the weft) back and use straight pins to secure them to the last strip of your vertical fabric strips, the warp. If you have several inches of weft dangling over the edge, go ahead and trim it off, but leave enough for a hem. You can always trim more after you’ve sewn the hem and it’s better to have too much than too little at this stage because your weaving may require a bit of adjusting before it’s done to keep everything even. Sometimes, the weight of the weft can cause the rows to skew and shift.
For the top and bottom, remove the staples or cut the warp off of the weaving frame as close to the staples as possible to give you the most fabric to work with when creating the hem. Just as with the sides, only this time with the warp, fold those strips over and pin to secure them to your first cross strip. This is where it helps to have a few blank strips woven in at the top and bottom and these can be added after the worship service is done or even after you take the weaving off the frame if you need to even things up. Another good reason to leave yourself enough length to make adjustments with.
My advice at this point, once the mat is off the frame and you’ve adjusted it so that it lies flat and even, would be to tack the weaving together before you run it through a sewing machine. With so many little strips of fabric it was easier for me to handle without fear of a row suddenly slipping out or twisting. I also found it easier to guide the banners through the sewing machine if I wasn’t dealing with so many pins along the way. So, once you have everything tacked together, sew a seam down each side of the mat and then you can remove those temporary stitches.
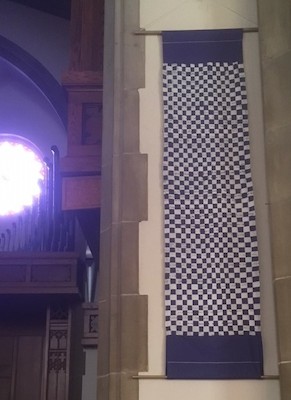
For the top and bottom of the banners I added a wide band of purple fabric. I thought this gave it a more finished look and added a little more color so that the banners would stand out a little more against the light colored walls of our sanctuary. We have rods from which we hang banners and weighted rods for the bottom of some of our banners to help them hang more evenly. Because I used sheets from the thrift store to harvest my purple fabric, I was able to adapt the wide top edge of the sheet into a rod pocket. But, if you didn’t score a purple sheet from 1989 at your local thrift store, rod pockets are easy enough to create by folding over several inches of fabric and sewing a straight seam.
Depending on how wide your banners are, it might be advisable to tack the warp and weft together at the top and bottom just as you did on the sides. A little extra time running a quick stitch by hand can save you so much frustration later. To add the purple bands to the weaving, I pinned the mat to the purple band so that the outward facing sides of both were touching. That way after I had sewn my seam, I could fold the purple back, press it with a warm iron, and have a neatly hidden seam. Just as you would when sewing a seam in a clothing pattern.
The finished banners turned out well, and added a bit to our Lent decor. But more than the way they looked, I liked that the banners created a sense of continuity in the liturgical year. From their creation as mats woven from testimonies in the fall, to their transformation into banners for Lent, what we had made together as a congregation became a visible symbol of God’s eternal faithfulness to us as individuals and as a body.


