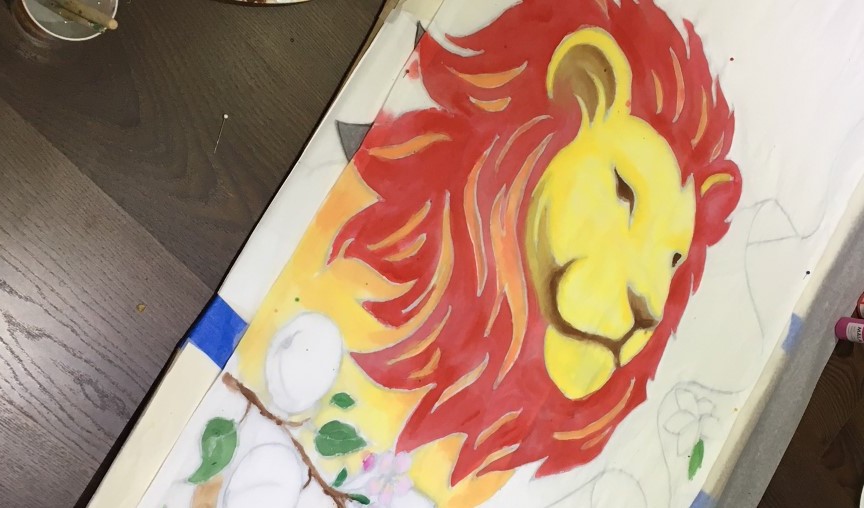
The Elder Board at Kingsway decided that Mission, Outreach and Evangelism would be the church’s focus for 2018. To accompany this initiative Todd would be preaching a 12 part sermon series! I thought such a long series could benefit from something visual that would tie the texts and themes of his sermons together. And it needed to be something that could remain in front of the congregation for the duration of the series. Worship banners that would hang at the front of the sanctuary seemed to be the obvious solution, but what about the subject and style?
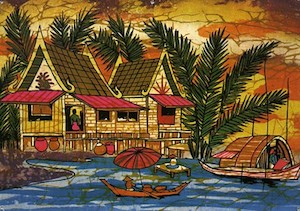
Around the time I was planning the banners, our church’s custodian and resident artist, Jo Djenar, felt called to return home to Indonesia to work with a ministry there. I wanted to honor his art and time spent with us at Kingsway, so I thought I would create banners in the style of batik art. Batik is a traditional fabric dyeing method popular in Asia and Africa. In batik, the artist paints a design on fabric using hot wax. Then the fabric is immersed in dye, and, after the dye dries, the wax is removed by boiling it away or scraping it off. The contrast between the dyed and the waxed areas creates the design on the fabric. What I liked about the idea of batik for worship banners, is the way the process of applying wax, dyeing the fabric, and removing the wax mirrors the death, burial, and resurrection of Christ. Rather like the symbolism in baptism.
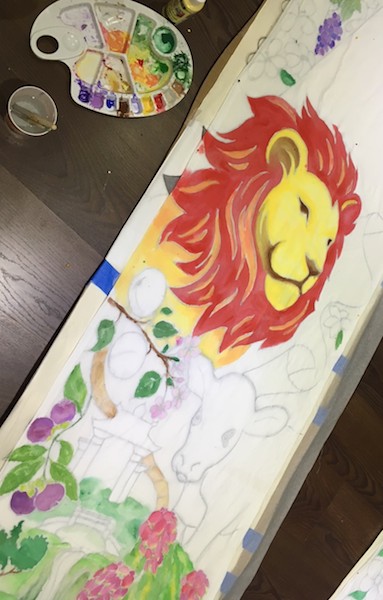
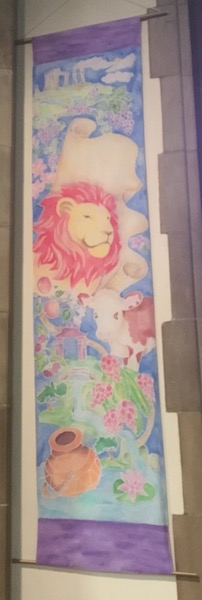
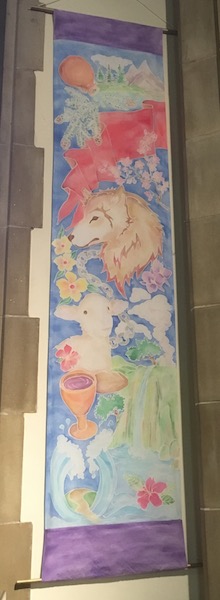
So batik would be the style, and the subject would come from scripture. Todd and I looked at the texts, narrowing them down and seeing what themes emerged. We organized the sermon series texts into these rough groups: God’s Vision (Isaiah 11:6- Peaceable Kingdom, Luke 4 Matt 28, Acts 1). What this Vision looks like in action in the church (Romans 12, Colossians 3, Micah 6:8, Isaiah 55, Jesus sending out 70) and How Jesus lived this Vision (the Woman at the Well, the Four Friends, Ethiopian Eunuch, Woman Caught in Adultery). I think when crafting art for the church it’s important to start with scripture, just as you would if you were writing a sermon. The Holy Spirit speaks to artists, musicians, and laypeople too, and we need to make room for that.
I wanted the banners to tie the series together, so I thought I would use images from the various sermon texts and work them into the design. And to further honor Jo’s mission to Indonesia, all of the fruit, flowers, and gardens depicted in the banners, though drawn from scripture texts would be from Jo’s home island of Bali.
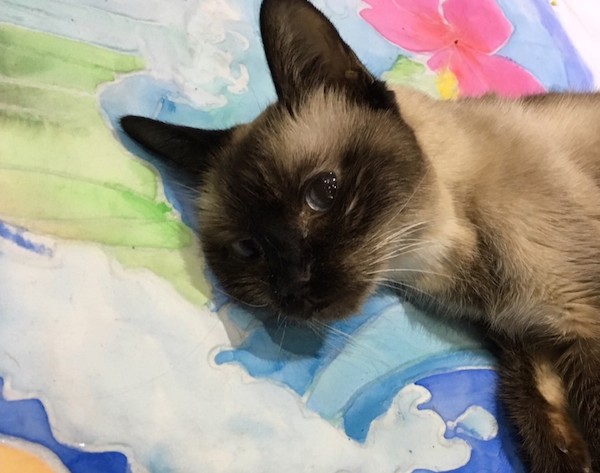
On to the actual construction of the banners. I quickly realized that working with hot wax was probably not going to be a good option for me. I hadn’t done anything like that in decades and didn’t really have the equipment or know-how to pull it off in the limited amount of time I had to create the banners. So instead of a wax based batik, I did a batik process using gel glue.
First I drew my designs on paper and outlined them in black marker to give me something to trace with the glue, and the black marker helped me to see my designs through the fabric. My fabric was just a white sheet from the thrift store (of course) pre-washed, dried and ironed. You could even pre-hem the sides before you paint too.
Before you begin tracing what you’ve drawn with the gel glue, slide wax paper between the fabric and your paper. This is critical or the glue might soak through the fabric and glue it to the paper. Tape everything down so that it doesn’t shift. I taped each layer to flattened cardboard boxes and did my gluing outside where the light was better. The glue you want to use to take the place of the traditional wax in the process is the Elmer’s Gel Glue, not the regular white school glue. I’ve seen this glue at craft stores, and you can also find it online or at places like Target. Often this gel glue is light blue in color, which is what I used. I found toothpicks were useful for dragging the glue into finer lines than the bottle’s top would allow. Once I had everything outlined, I let all of it dry overnight.
Once the glue is dry, you can begin painting. The dried glue will act in a way similar to the dried wax and create a physical barrier between paint colors. I used watered down acrylic paint since my banners were going to hang like a canvas. If you’re creating banners for waving, then fabric paint has a bit of softener in it that might give your creation more movement.
I wanted the details of my design to show up so that images in the sermon scriptures could be easily identified. So I painted my banners in a fairly straight forward way. If you want banners that are a little more dyed looking, you can water down the paint even more and let it overlap the design similar to a tie-dyed look. Let the paint dry completely.
Here’s the nerve-wracking, faith-testing part of the process. The dried gel glue must be removed, just like the wax in actual batik. It leaves behind a white line which serves to outline the images in the design giving the fabric a look similar to batik.
To remove the gel glue, soak the banners in very warm water. I have a laundry sink, but you can use a bathtub, bucket or washing machine set on “soak”. Depending on the size and weight of your fabric this soaking could take anywhere from 10 to 30minutes. I found the glue dissolved very easily, but you might need to use an old toothbrush or fingernail to remove some of the dried glue.
When all the glue has been removed, let the banner dry. This can be done in the drier or open air. After it is dry, I would recommend ironing on low with another piece of fabric over the painted image.
I painted bands of purple that I sewed onto the either end of the banners to give the banners a bit of a visual frame and I created rod pockets in these for hanging just like I did with the “Weaving Our Testimonies Banners”.
To make these banners more interactive for the congregation, I created a “Seek and Find” to accompany them. It listed what to “seek” and the verse or verses from the sermon texts that went with each item. I thought it was an effective way to get children involved with the worship space and the Bible verses, and perhaps something parents and children, or older and younger children could do together. This bulletin insert also included information about batik and the inspiration behind the banners.
I’m really pleased with the way the banners turned out. If I were doing it again, I might make the paint a little darker just so the designs were more visible from the rear of our large sanctuary. I can imagine using this process again on other banners, or trying it on a smaller scale as a children’s craft.


